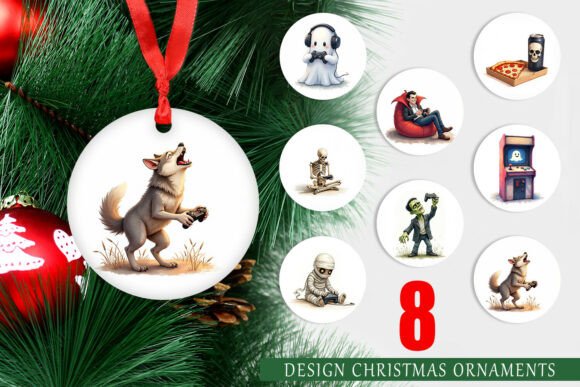
Monster Gaming Night Ornament: Why Your Christmas Tree Deserves a Retro Gaming Overhaul
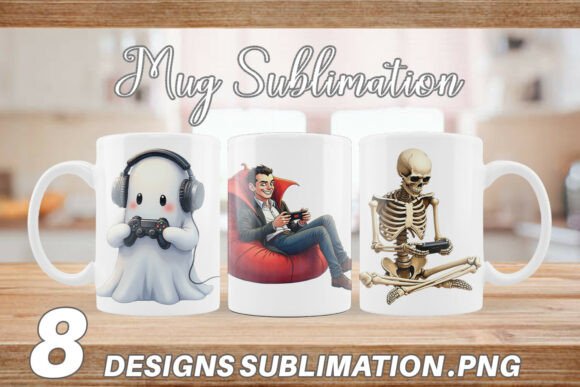
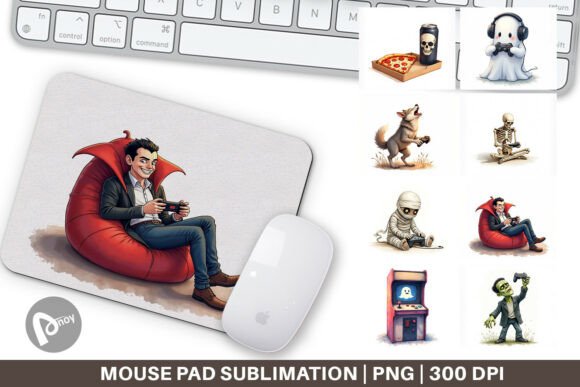
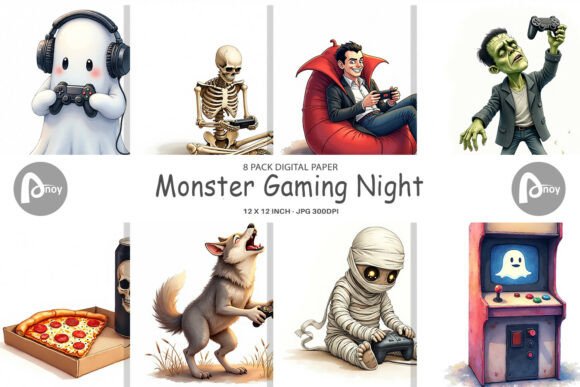
Every year, the same boxes come down from the attic. Glass balls, tinsel, a few felt snowmen, and maybe a star that has seen better decades. This year, consider a different kind of decoration. The Monster Gaming Night Ornament series is a set of eight circular PNG designs that reimagine classic Halloween monsters as dedicated gamers. A ghost with oversized headphones, a skeleton clutching a handheld console, a vampire squinting at a vintage screen—each ornament turns your tree into a clever homage to late-night gaming culture. The designs come as high-resolution PNG files: 5x5 inches, 1500x1500 pixels at 300 dpi. They are ready for sublimation printing or for layering into your own craft projects. If you have ever wanted a Christmas tree that reflects your love for pixel art, retro consoles, and spooky characters, this set offers a fresh way to merge holiday tradition with personal style.
Before you download, print, or sell these designs, there are several practical details that can make the difference between a crisp, professional ornament and a frustrating outcome. The following points address common mistakes, overlooked specifications, and better approaches to getting the most out of this printable ornament set.
Mistake One: Ignoring the Resolution and Size Requirements
The file specs are precise: each PNG is 5x5 inches at 300 dpi, which translates to 1500x1500 pixels. Some buyers assume they can resize the image freely without loss. That is not the case. If you stretch a 1500px square to fit a 7-inch ornament blank, you will introduce noticeable pixelation, soft edges, or blurry details. The ghost’s glowing eyes and the skeleton’s controller buttons are small elements that degrade quickly when scaled up.
What to do instead: Work within the original square format. If you need a larger ornament, look for a blank that matches the 5-inch diameter, or plan to use the design as a central medallion on a larger background. When importing the PNG into your design software (Canva, Photoshop, Affinity, or Silhouette Studio), confirm that the canvas is set to inches and that the resolution remains at 300 dpi. Do not rely on automatic scaling. Manual verification takes thirty seconds and eliminates the risk of a blurry print.
Mistake Two: Using the Wrong Transfer Method for Your Material
This pack is marketed as a sublimation PNG set, but sublimation is not the only way to use these designs. Many crafters try to print onto standard sticker paper or iron-on transfer paper, which works for fabric or smooth surfaces but fails on glossy ornament balls, wood slices, or acrylic blanks. Sublimation requires a polyester coating or a polymer finish to bond permanently. If your ornament blank is untreated wood, raw ceramic, or standard glass, the image will lift, scratch, or fade.
A better approach: Confirm your blank’s compatibility before printing. For sublimation, use only blanks labeled as sublimation-ready. If you prefer a different method, consider printable vinyl with a laminate layer, or use the PNG as a design file for epoxy resin molds. Another option: print the design onto adhesive paper, cut carefully, and apply to a flat ceramic tile or a metal ornament. Always test a single design on a scrap blank before committing to all eight.
Mistake Three: Overlooking the White Background in Circumference Designs
The images are circular, but the PNG files likely include a transparent or white background designed to fit a round ornament. Some crafters assume the entire square file prints as a full-color circle with no edge issues. In reality, if the design has a white fill behind the monster, and your ornament blank is a dark color, that white edge becomes visible and looks like a sticker left on a fruit. It breaks the illusion of a seamless ornament.
How to avoid this: Open the PNG in your editing software and verify whether the background is truly transparent or if it contains a white fill. If it does, consider two options. Option one: print on a white blank so the white fill blends naturally. Option two: use a layer mask to remove the white background while keeping the monster details intact. For sublimation, a white background printed onto a dark blank will show as a white halo. A simple pre-edit keeps the design looking like it belongs on the ornament rather than sitting on top of it.
Mistake Four: Printing All Eight Designs Without Checking Color Quality
The Monster Gaming Night Ornament series uses a specific palette: deep purples, neon greens, dark grays, and electric blues. These colors are chosen to evoke a retro gaming monitor glow mixed with Halloween atmosphere. However, not every printer reproduces these tones accurately. A consumer inkjet can shift purple toward brown, and neon green may come out as olive. If you print all eight at once without testing, you might end up with a set of ornaments that look muddy instead of vibrant.
Practical fix: Perform a single test print on your chosen blank using the ghost or skeleton design. Examine the color under daylight and under warm indoor lighting. If the green lacks punch, adjust your printer’s saturation or try a different paper profile. For sublimation, check that your heat press temperature and pressure settings match the ink brand. Rushing this step turns a charming set into a regrettable batch. One test print saves the other seven designs and preserves your material budget.
Mistake Five: Assuming the Designs Are Only for Ornaments
The product name and description focus on Christmas tree decorations, which leads many buyers to stop exploring other uses. This is a missed opportunity. The circular format at 5x5 inches fits perfectly on gift tags, magnet blanks, coaster blanks, keychain inserts, and even custom laptop decals. A skeleton gaming on a handheld console works just as well on a stocking label as it does on a tree ball.
Expanding your use case: If you are a small business owner or a hobbyist seller, consider offering these as a themed set of magnets or drink coasters for holiday markets. Gamers and horror fans are an overlapping audience, and a four-pack of monster gaming coasters makes a low-cost, high-appeal item. For personal use, the designs can be printed on fabric for a gaming pillow or embedded in resin for custom tabletop accessories. Treat the set as a versatile graphic toolkit, not just a tree ornament pack.
Mistake Six: Ignoring the DPI When Sharing or Reselling Digital Files
Some buyers purchase the PNG pack intending to resell the printed ornaments or to include the designs in a digital product bundle. While commercial use terms vary by seller, a common mistake is to reduce the file resolution for faster upload or to save storage space. If you compress the PNG to 72 dpi or resize it to 500 pixels, the image loses the crisp lines that make the gaming monsters appealing. A blurry ghost with headphones does not communicate the polished aesthetic that customers expect.
The right way: Keep the original files at 1500x1500 pixels and 300 dpi. If you need smaller preview images for your shop listings, create a separate low-resolution copy but clearly state that the delivered product is high resolution. Buyers who receive a compressed file will be disappointed and may leave negative feedback. Preserving the spec integrity shows professionalism and protects the value of your work.
Mistake Seven: Forgetting to Mirror the Image for Sublimation
Sublimation printing requires the design to be mirrored horizontally before pressing. This is one of the most common errors for newcomers. You load the PNG, place it on the blank, press, and pull away to find the text reversed or the skeleton’s controller on the wrong side. The design looks fine on screen but wrong in reality.
Prevention: Make mirroring a routine step before every print session. In most software, you can flip the image horizontally in one click. If you use a design containing text, such as a gaming-themed slogan, mirror it twice mentally to confirm. Many crafters keep a checklist taped to their heat press: check resolution, check mirror, check temperature. It sounds small, but skipping the mirror step wastes ink, paper, and time.
Mistake Eight: Not Considering the Audience for Gamer-Themed Decor
The Monster Gaming Night Ornament appeals to a specific but passionate niche: adults who grew up with early consoles, who still play on modern devices, and who enjoy Halloween aesthetics year-round. A common marketing mistake is to treat these ornaments like generic Christmas decor. They are not for everyone. A distribution channel that sells to elderly craft groups may not connect with the retro gaming energy of these designs.
Better targeting: If you sell products made from these PNGs, highlight the gaming angle explicitly. Use phrases like “retro console vibe,” “headphone ghost,” and “handheld skeleton” in your product descriptions. Share images on platforms where gamers gather, such as gaming subreddits, Discord servers, or Etsy search tags like gamer Christmas ornament or horror game decor. The right audience will appreciate the humor and detail, but they need to find your product first. A generic tag like holiday decoration gets lost. Specific tags build connection.
What to Check Before You Click “Buy” or “Print”
Before you purchase the Monster Gaming Night Ornament set, take a moment to confirm a few practical points. First, verify the license: are you allowed to create physical items for sale, or is it limited to personal use? Some designers offer extended licenses at an additional cost. Second, check your blank inventory. Do you have eight round blanks ready, or only three? Purchasing a full set when you cannot produce all eight leads to wasted files or rushed ordering later. Third, review your software capability. Can you open PNG files at full resolution without compression? Older software may degrade the image upon import. If you are unsure, use a free tool like GIMP or Photopea to inspect the file properties.
Finally, think about the final presentation. These designs shine best when paired with a matte or slightly glossy white ornament blank that lets the colors pop. A dark blank can work if the background fill is removed, but test first. Taking ten minutes to confirm these details prevents the most common problems and leads to a finished product that looks like it cost twice what you paid.
The Deeper Appeal of Gaming Monsters on Your Tree
Beyond the file specs and printing techniques, the Monster Gaming Night Ornament series taps into something more personal. Christmas decorations often lean on nostalgia: angels, Santas, reindeer that remind us of childhood. For many adults aged 20 to 50, childhood memories include a handheld console, a basement gaming setup, or a favorite horror game played late at night. Putting a ghost with headphones on the tree does not replace tradition—it adds a layer of identity. It signals that this home belongs to someone who still loves play, who finds humor in monsters, and who refuses to let the holidays become generic.
When you print these ornaments correctly, with sharp colors and clean edges, they become conversation pieces. A visitor spots the skeleton with a controller and laughs. Another guest recognizes the pixel-art style and shares a story about their first console. That connection is the real value. The PNG files are a means to an end: a tree that looks like you, not like a catalog.
Whether you are a hobbyist crafting a single set for your family or a small business owner producing twenty ornament packs for a holiday market, the same rules apply. Respect the resolution. Test the material. Mirror the image. Target the audience. And never underestimate the appeal of a vampire who refuses to pause his game for dinner.